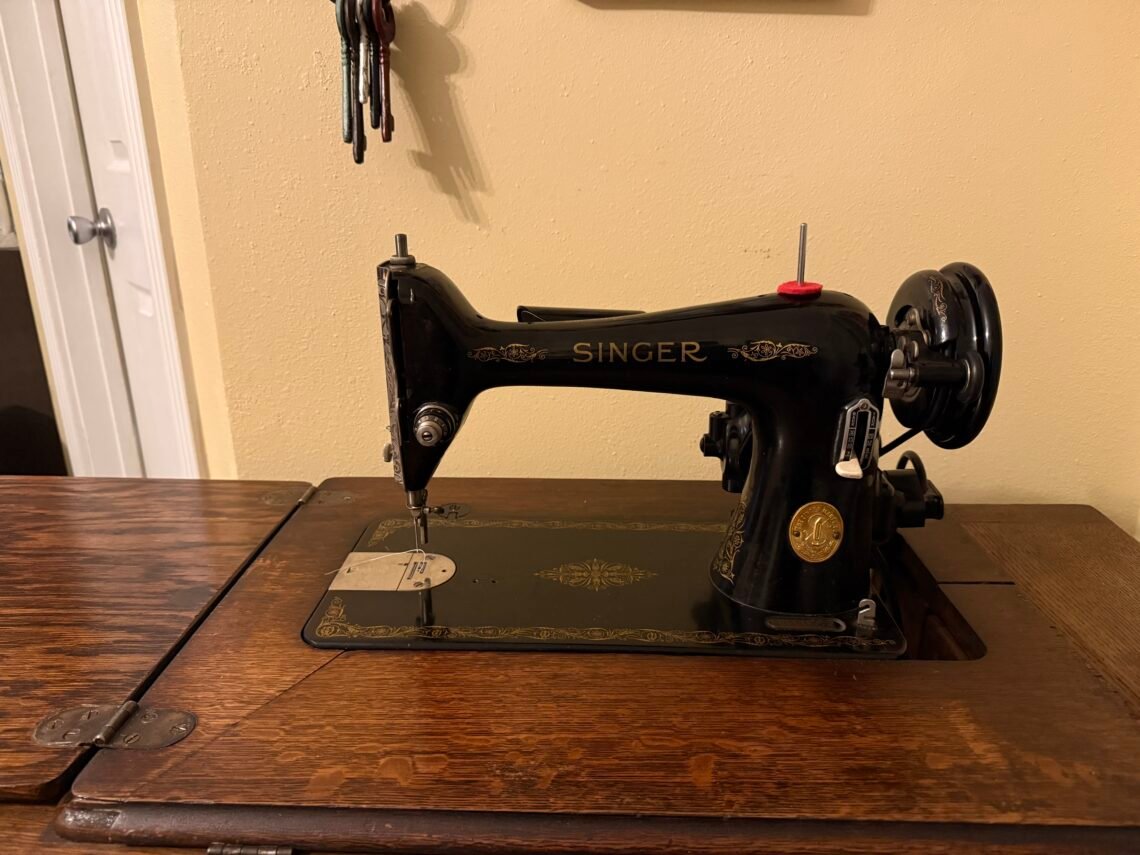
Retrofitting My Vintage Sewing Machine Cabinet
When someone tells me something won’t work, I still have to try. Often, it’s because I’m stubborn and want to prove them wrong; other times, it’s because I am certain my idea will work. Here’s how I was sure I could retrofit an old sewing cabinet to make it fit my new (old) sewing machine.
The gift of a vintage Singer 66-18 sewing machine
When I started working on hobbies again, including sewing, my wonderful mother-in-law, Joan, offered me her vintage Singer sewing machine. I happily accepted and started researching to learn more about the beautiful machine.
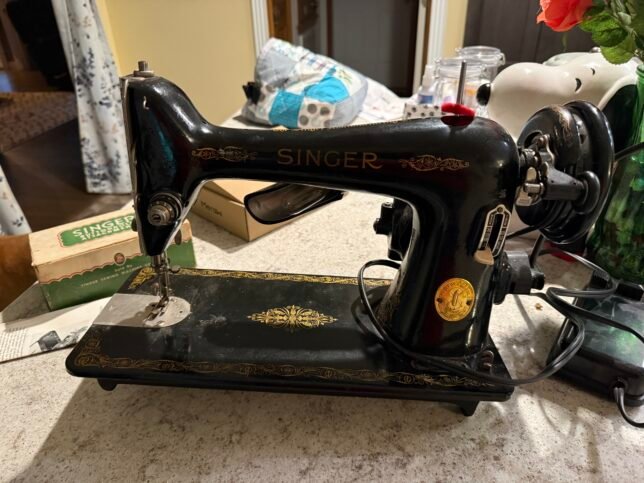
I determined it is a Singer 66-18 and traced the serial number back to the manufacture date of May 9, 1947. The machine is electric, as indicated by the -18, but it functions identically to the Singer 66 treadle model. My new machine had been rewired at some point and likely had the belt replaced.
Finding the manual
My MIL didn’t have the manual because she bought the machine used in the late 1990s. I searched online and found a PDF version of the manual that I could download and print. Once I had the manual, I learned more about the machine, including how to clean and oil it, thread it, and operate it. The machine is for straight stitching only. There are attachments for other types of stitching. Joan bought the machine with a buttonhole attachment. (I haven’t tried it yet, nor have I tried the buttonhole setting and foot on my newer Singer.)
Ordering supplies
The machine doesn’t take the same bobbins as my Singer Simple, so I had to order metal ones in the right size. Fortunately, the machine works with standard sewing machine needles.
The machine came with only one foot, and it is quite small. It also wouldn’t work with my snap-on presser feet without a new shank adapter, so I ordered one, along with a standard-width screw-on presser foot.
I already had sewing machine oil, but I needed special motor grease, which I ordered from an online sewing machine parts store.
Finding a cabinet
Unlike my Singer Simple, which is portable and sits on a table, the Singer 66-18 was designed to go in a cabinet. My MIL’s house has a built-in sewing room where she kept the machine. My FIL had made the machine fit by bracing it with wood. I needed either a base box or a cabinet to use the machine.
I searched online for options and thought about either ordering a box or making one from plans I found. I would need special hinges to fit the Singer. Ultimately, I decided to look for a cabinet. When I walked into a local antique store, I found a beautiful cabinet with a broken machine inside. It wasn’t a Singer, but a Honeymoon machine. After a little thought and a quick phone call to my husband to make sure he was good with the $95 price tag, I bought it.
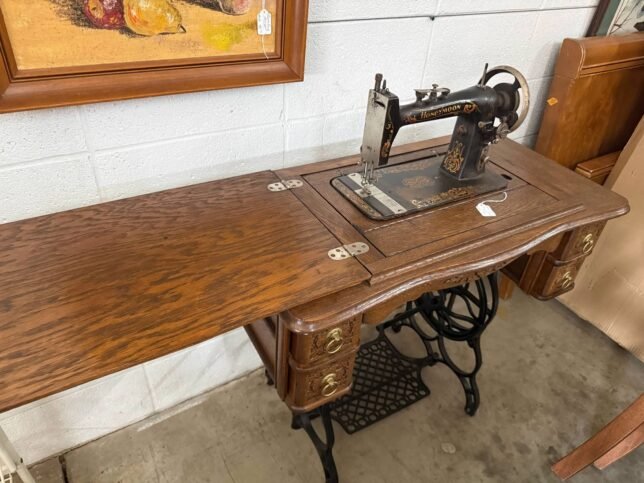
When I got it home, I realized Singers and Honeymoons (a Davis machine model) weren’t the same size.
Making my Singer fit a non-Singer cabinet
(even though my husband said it wouldn’t work)
First, I tried widening the hole in the original cabinet, thinking I could just relocate the hinges and make it work. That was a big fail.
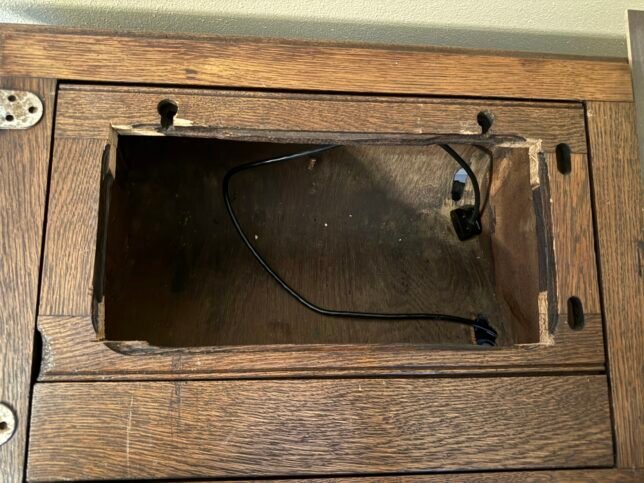
I soon realized that my best option was to either build a new insert to fit the Singer or find an old one. After a lot of research, I learned I could buy a new tabletop on Etsy. I found the perfect size at a reasonable price. The best part was that it didn’t include any unneeded parts.
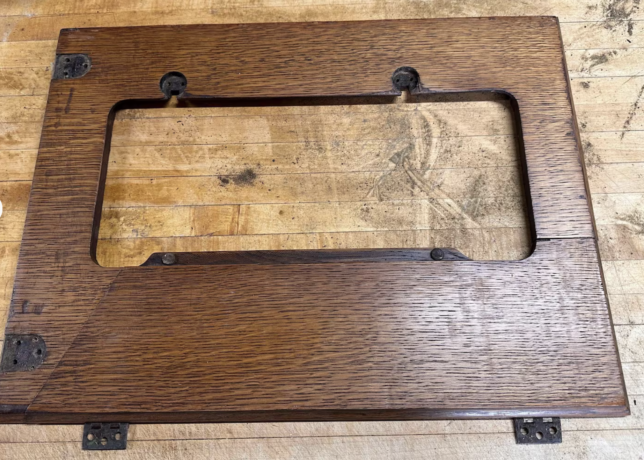
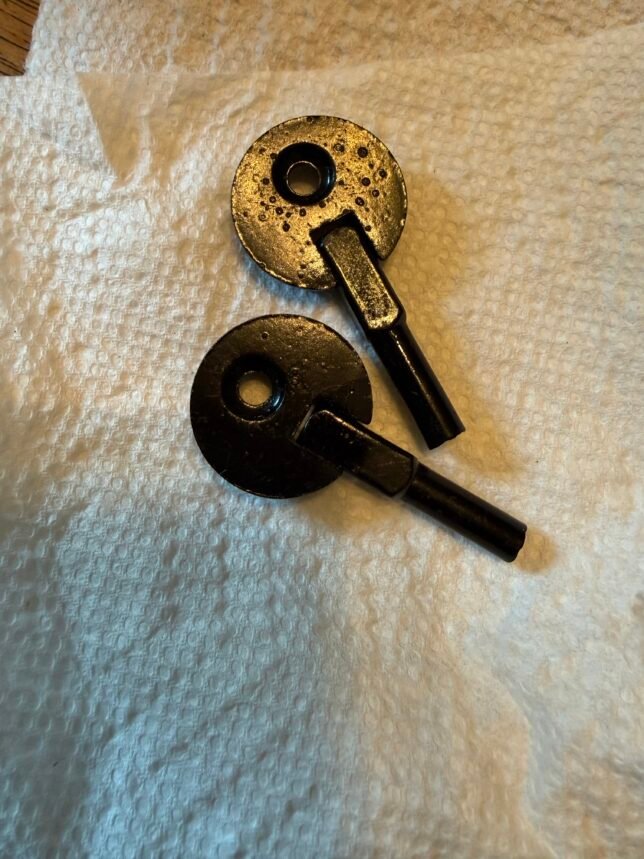
I had already ordered replacement hinges from Amazon, so I hoped I’d be all set once the tabletop arrived. Below are the replica “lollipop” hinges that work with vintage Singers.
Starting the retrofit
When the new top arrived, I discovered that Singer cabinets have different hinge sizes and placements than Davis cabinets. Fortunately, the replacement Singer top came with hinges I could use. I removed the foldout top, which I still needed, and then Jonathan helped me very carefully remove the current top from my cabinet. We got it off with minimal damage to the wood underneath. Whew!
Removing damaged veneer and staining
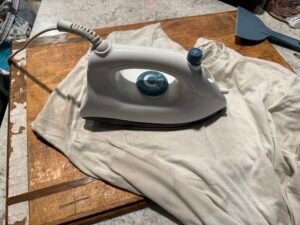
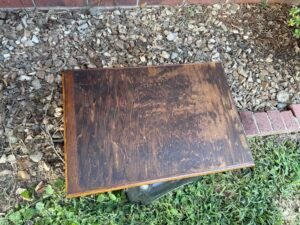
The veneer was too far gone on the foldout top, so I had to remove it. Most of it came off easily, but I used wet rags and my iron to loosen some stubborn spots. Then I sanded and stained the top. I tried making my own wood filler with wood glue and sawdust to fill in the hinge holes and locking mechanism, but that was another failure. I got some actual wood filler and had better luck filling the holes with that. Then I sanded and stained again.
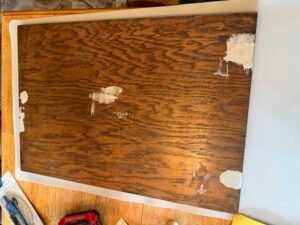
Replacing the tabletop
I used wood glue to secure the Singer tabletop to the cabinet, then added a few woodscrews underneath. I also had to bust out the curved wooden cavity that hid the previous sewing machine. The Singer wouldn’t fold down properly into the cavity, and it was in poor shape anyway. It wasn’t a perfect fit, but it was close enough.
My husband Jonathan used his dad’s tools to cut spaces in the foldout top for the new hinges. He had to rotate the top to make it work. I filled in the gaps with wood filler and used stain to disguise it.
I also had Jonathan help me sand the inside of the tabletop since the machine rubbed against one curved corner. It took a while to make it work, but I was thankful for the help.
I also used the sander to round the corners of the original foldout top so it would better match the replacement Singer top.
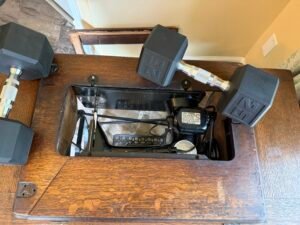
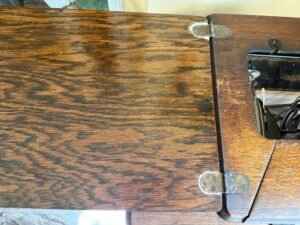
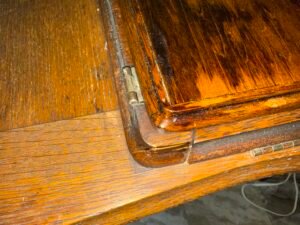
The finished sewing machine cabinet
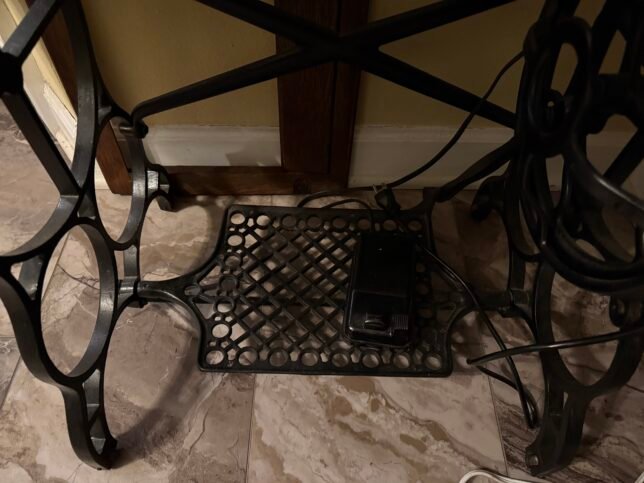
I still plan to make a small curtain to hide the machine when it is folded down, but for the most part, this cabinet is finished and functional. I can easily place the foot pedal on the unused treadle and use the machine. I thoroughly cleaned and oiled the machine before using it. With some trial and error, it worked.
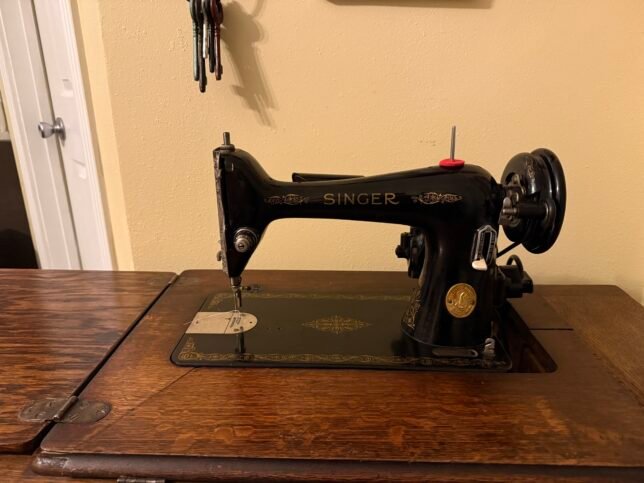
Although the stitches are a bit crooked, this old machine is running smoothly. I’m so thankful to have it and have already made three simple block quilt tops with it. The treadle is the perfect resting place for the foot pedal.
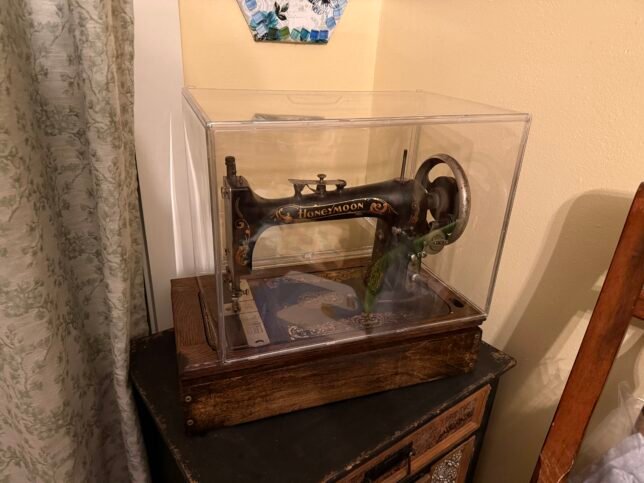
What about the old Honeymoon/Davis sewing machine?
I couldn’t throw away the old broken machine. I glued back the pieces I’d cut out of the original tabletop so I could mount the old machine. Then I used some scrap wood from our kitchen renovation to build a box. It isn’t perfect, but it works fine to display the beautiful machine. I ordered a large acrylic boot storage box and left off a side to cover the machine and protect it from dust. It’s not a perfect fit, but again, I wasn’t going for perfection.
Have you completed a labor-of-love project?
If you’ve ever had to put in blood, sweat, and tears to make something work for you, let me know in the comments. I think of this project much like my novels. I keep going until they work out and change directions midway through if I have to, all to make something I’m proud of.
Thank you for reading,
Brandi Easterling Collins

You May Also Like

Thanksgiving

Childhood Lost
